

Introduction: Storage Solution Using Empty Filament Spools


The Idea Behind This Project:
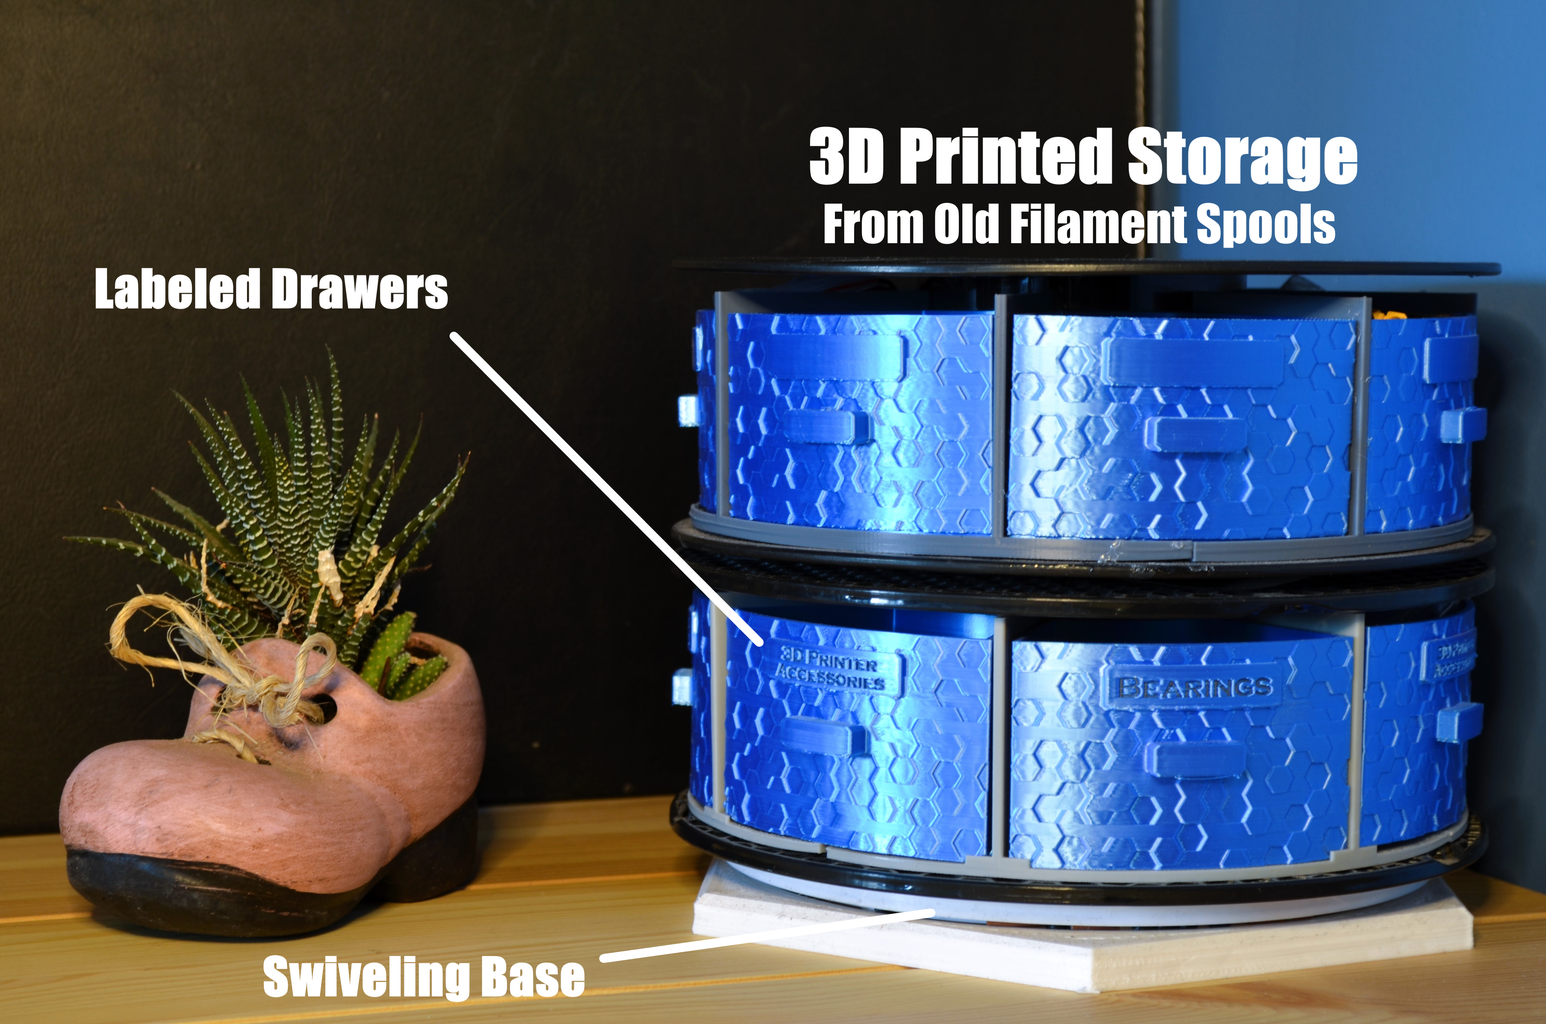
3D printing has become a popular tool for rapid prototyping and is now accessible to consumers with a budget of $150 or more. However, this increase in 3D printing has unfortunately resulted in a significant rise in plastic waste, with empty filament spools being a major contributor. I have designed a simple storage system to address this issue that repurposes these empty spools. Using Fusion360, I created a stackable, swiveling, and practical storage system that makes use of these spools that would otherwise go to waste.
Where to Find 3D Print Files: (Or feel free to use this as an inspiration and design your storage system)
I unfortunately do not have these files listed for free. I wish I could however I live in a country where at my age and legal status I cannot get a job. So instead I am trying to start selling files. I apologize for the inconvenience. The listed price is only $3. The files can be found here: https://www.etsy.com/listing/1668083850/storage-solution-using-empty-filament
Supplies


3D Printing Supplies:
- PLA, PETG, ABS, or similar filaments will work fine
- Empty Filament Spools (Any type should work, So long as it is plastic)
Hardware:
- CA Glue and Activator (Other glues work as well)
- Lubricant (Optional but helps with the 3D printed thrust bearing)
Step 1: Designing the Model
How to Design this Model:
(If you want to use the files I provided then you can skip this step)
I used Fusion360, which is quick, easy to use, yet very powerful. The design process consists of 6 main steps:
- Think about the final product: What does the storage system look like? How will it work? What main functions does it have? (The main functions can be anything such as custom drawers to a swiveling base). These are some basic questions you can ask yourself before starting the next step. Get an image in your head, or sketch out what the final product will look like.
- Take Measurements: Now that you know what your storage system will look like, you won't be in the dark when it comes time to take measurements. The measurements taken will change based on your preferences and ideas, however here are some crucial measurements to keep in mind: Inner Spool diameter, outer spool diameter, core diameter, spool width, and the spool inside width.
- Design the Prototype:
Step 2: 3D Printing
3D Print Settings:
The detailed 3d printing settings can be found on Etsy where the files are linked. However here is a basic profile to use:
- Material: (PLA, ABS, or PETG) Either Works fine. Be Careful when printing ABS to avoid Warping
- Layer Height: (.16mm - .24mm) Works fine. It mainly depends on how long your willing to wait.
- Walls: (3 Perimeters)In order to ensure strength with the Drawers I used 3 walls instead of the default 2.
- Support Material: None is needed except for when printing the Balls File.
Good to Know:
In the timelapse you can see the ABS prints (Gray) warp at the corners. This made the fitment not so great. Be careful when using ABS
Step 3: Assembling the Base


Parts Needed:
- Swivel Base
- Swivel Top
- Balls
- Stabilizer Cap
How to Assemble (Follow the Order of the Images):
The images in order show how these parts go together, but here is a brief description.
- Insert the Balls into the groove in the Swivel Base
- Place the Swivel Top on top of the Swivel Base. The top should rotate nicely on the bottom
- Glue the Stabilizer Cop onto the pin that sticks through the Swivel Top.
The final image shows a cutout of the pieces assembled. Your model should look similar.
Step 4: Assembling the Spool Drawers


Parts Needed:
- Spool
- Side A, Side B, and Side C
Assembly:
- Glue Side A to Side B where the "clip" interlocks. (GLUE THE PARTS INSIDE OF THE SPOOL)
- Glue Side C to Side A and Side B (GLUE THE PARTS INSIDE OF THE SPOOL)
IMPORTANT:
Make sure you glue all the sides together inside of the spool. Otherwise you won't be able to place the sides into the spool once glued.
Step 5: Stacking Spools

How to Stack Spools
I have included several spools in the file packet. However many spools I am not able to measure the inner diameter of the core, which is essential to create a tight press fit between two spools. I have included some general adapters for basic spool types, but you may have to modify the design slightly to fit your spool perfectly.
The adapter simply fits into the inner core of the spools. It should be a really tight fit to keep the spools from moving.
Step 6: Finished Product


The Final Step:
Simply place spool assembly (Step 3), on top of the Swivel Top. The spool should fit tightly into the extrusion on on the swivel top. And once everything is put together you are left with a wonderful storage system that can swivel and is also stackable. And the best part is, your are saving the earth by not throwing away those empty spools.
I hope you enjoy this project!

This is an entry in the
Remake It - Autodesk Design & Make - Student Contest


